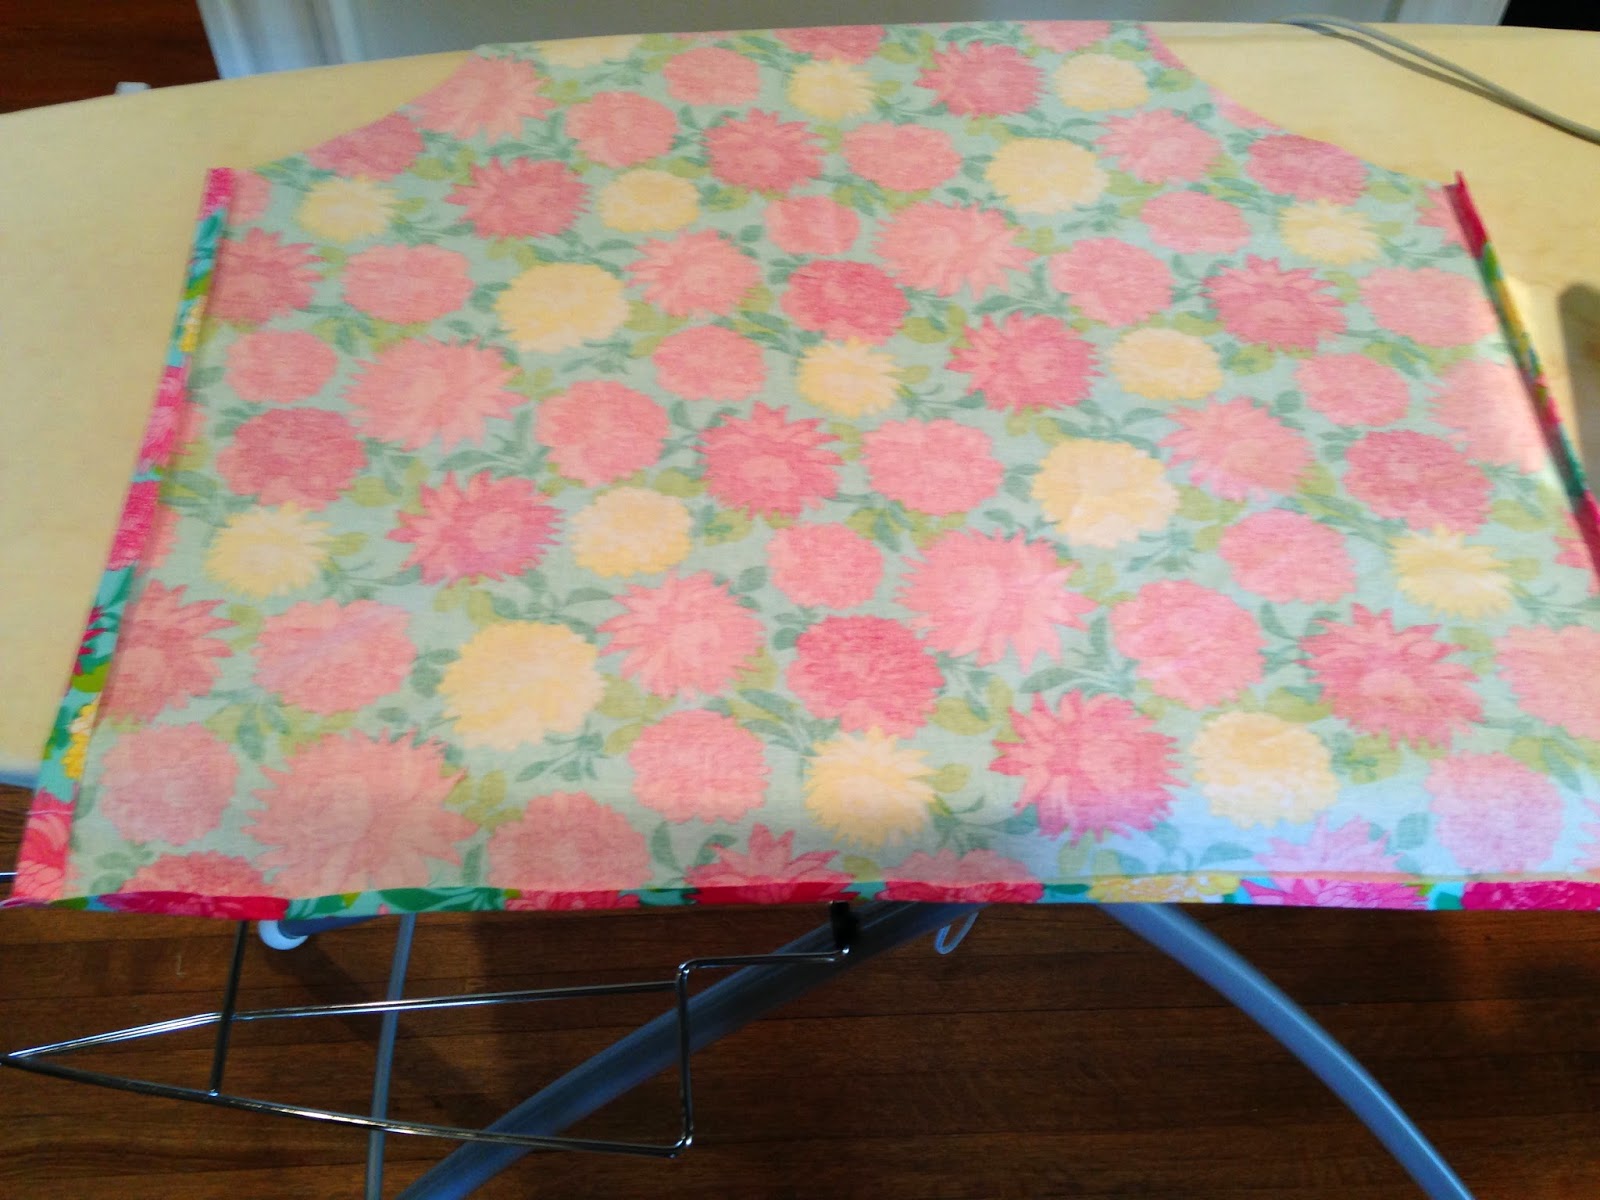
I stumbled across these fabrics at Jo-Ann's yesterday and decided to give Mother Nature another hint. I don't care if it's still cold and rainy, I'm moving forward with Spring! I designed my own Christmas Aprons in December and figured the pattern would work fine for the Spring Apron.


Dana Tip: Use wrapping paper with grids printed on the back to make symmetrical patterns. The inch grids help with measuring!
My pattern is 20" along the right side and 15" on the left. It's 12" across the bottom and 4" across the top. Fold your fabric in half and lay the pattern with the long side along the fold to create a full apron when opened up. Adjust your measurements to suit your length. I've shortened it in the past and made one for my little girl.
At this point you can choose to add a ruffle along the bottom like mine or skip ahead and just finish!
To make the ruffle, I cut 3-4 strips of coordinating fabric 8" wide with a rotary cutter.
I sewed them together at the selvage, right sides together, to make a long strip and pressed the seams open. Next I finished all the edges by pressing 1/4" all the way around once, folding edges over again and stitching in place to create a nice finished hem.
I did the same thing to the straight edges of the apron, not the curves though. Those will be finished with bias tape.
I added the "ruffle" to the apron's bottom edge by laying right sides together and working left to right, made little folds and pinned in place. You can do a true ruffle with gathering if you prefer, or box pleats or whatever! I just messed around with this pattern and liked the look of the folds. Save the leftover strip from the end to make a pocket!
Stitch along the edge and remove pins as you go. I used a 1/2" seam allowance. Press open and iron.
Using the leftover strip, cut to your size of choice, finish the raw edge like before, and pin in place. Stitch three edges of it to front of apron to make a pocket. Cute!
For the neck strap and ties, you can use purchased double fold bias tape or make your own. I made my own with the coordinating fabric by cutting 3" wide strips and sewing together until I had at least 60". Press in half with iron lengthways and open. Then fold bottom edge up to crease and press again. Do the same with the top edge. Fold both sides together to make a long strip with unfinished edges tucked inside and press flat.
To add the tape to your apron, find the middle of the strip and mark with a pin or clip. I like sewing clips; binder clips work well, too! This will be the point directly behind your neck. Hold the apron to your body and clip the strip to left and right top corners of the apron to get the desired neck opening. Open edge faces the apron. Make sure it can go over your head and that it is not twisted!
Tuck the raw edge of the apron curve into the bias fold and clip or pin. I like to begin in the center of the neck strap and stitch the fold closed all the way down the curve and out toward the end of the waist tie. Tuck the end of the tie inside itself and stitch closed. Then do the other side.
I love how this turned out! Now my girls want matching aprons, too! Back to the sewing machine :)


