She asked me to make her one to match her coffee mug that I gave her from Anthropologie. It's a blue floral print mug with a yellow 'V' on it-very cute! So back to the fabric store I went!
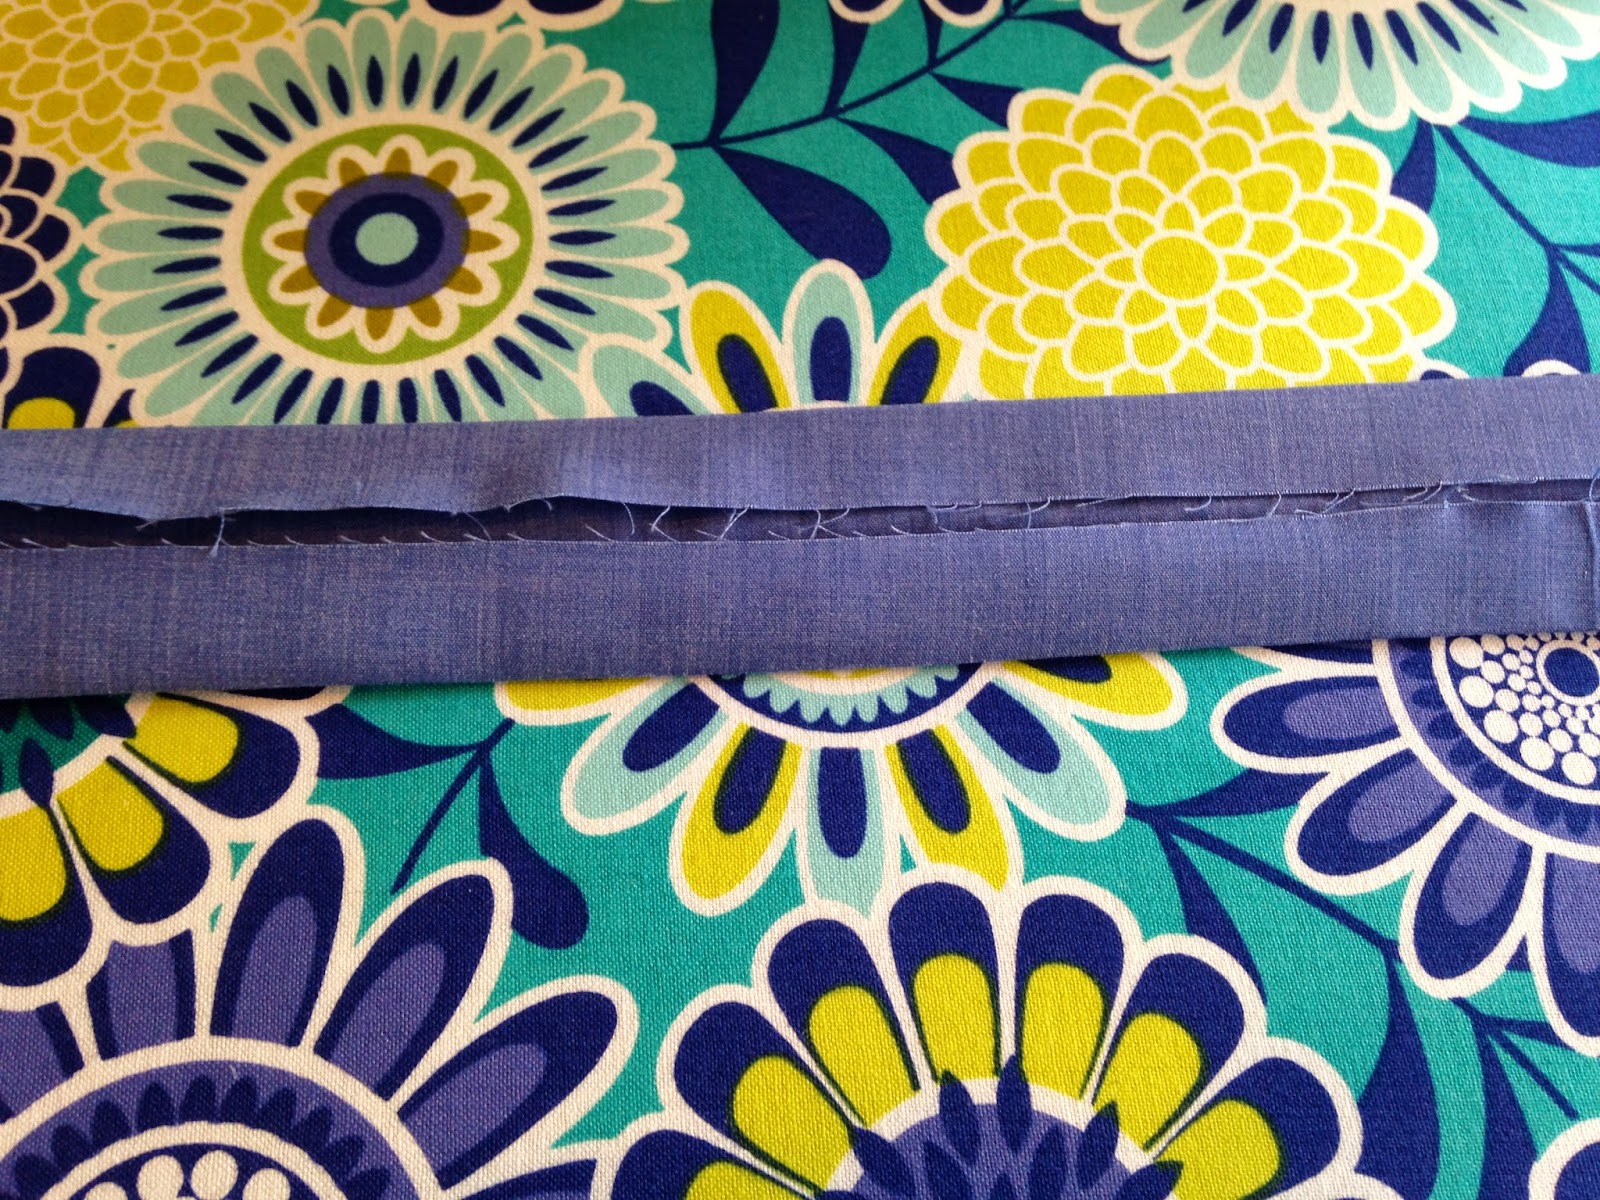
The floral print is the body of the apron and the chambray is the trim/ties. The gold fabric is actually left over from her FSU trunk-let's see how long it takes her to notice ;) and is the 'V' on her pocket to match her cup.
Materials:
1 yd apron fabric
1 yd trim fabric or 1" double fold bias tape
small scrap for letter
adhesive backing for applique
I basically followed the same instructions as my Spring Apron post, but did not make a ruffle. So please adjust the 'length' of the apron to suit your needs. Add 1inch for seam allowances and cut your fabric.
For the bias tape, you can buy it or make your own. I made mine with 3 inch strips of chambray fabric, stitched end to end at the selvages to equal roughly 60+ inches. I like to tie my apron around the back and in the front. So I keep my ties long. Make yours how you want it, though!
Hem the straight edges of the apron fabric by folding sides in 1/4", pressing with the iron, repeating the folds and stitching in place. Don't worry about the curves; they will be covered with the bias tape.
For the pocket:
Cut fabric to the size of the pocket you want. I used the floral fabric and lined it with the chambray. I cut two matching rectangles, stitched right sides together leaving a small gap to turn out the fabric and then pressed the seams flat. I didn't worry about stitching the gap because I knew I would sew it shut when I stitched the pocket to the apron later.
Follow the manufacturer's instructions to applique your letter. I printed a large 'V' on paper in reverse image and traced it at the window onto the rough side of the backing. After removing the paper backing to expose the adhesive, I placed it on the back of the gold fabric and cut it out. Use sharp scissors, but not your good fabric ones! Then I pressed the letter onto the front side of my pocket, rough side down and fabric side up using a pressing cloth and steam. Make sure the gap in your pocket is positioned so it will be stitched closed when you sew the three edges to the apron.
Position the pocket onto the apron and pin. Sew around the three edges. I like to backstitch at the corners to reinforce them, but you don't have to if you don't want to.
We're almost done! Pin or clip your bias tape to the top corners of your apron. I like to stand up with the apron positioned in place and the tape around my neck to find the perfect neck size opening. Make sure the bias tape is open to the apron and not twisted behind your neck and clip or pin. Pull gently over your head to make sure it's not too tight!
Finally, stitch along the fold of the bias tape from one end to the other, tucking the ends inside the fold before stitching ends shut. Voila!
I hope Victoria loves this apron as much as I do!


